What is Price Experiment
In the Corrily platform, there exists a variety of experimental techniques. The most common of them is “Price Experimentation.” This methodology allows for the systematic variation of prices and currencies displayed to different users, even when considering the same subscription plans. Essentially, every user will view the same range of plans, but the prices for each plan, or a subset of them, may differ.Key Applications of Price Experimentation:
-
Baseline vs. 10% Increase: This experiment can be designed to compare the baseline price with a price that’s increased by
10%. This provides insights into user behavior and purchasing decisions when exposed to a minor price hike.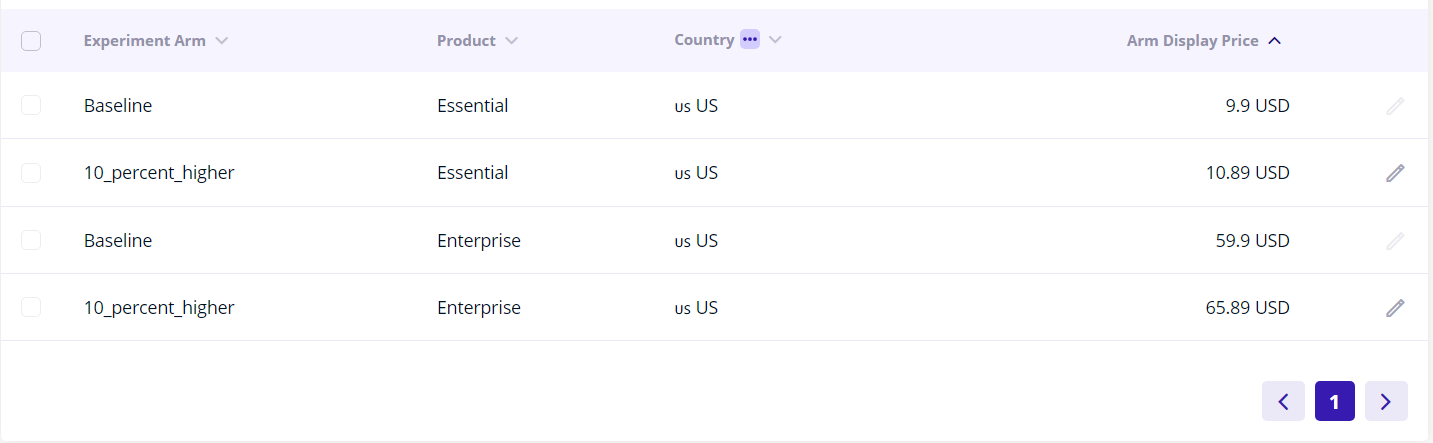
-
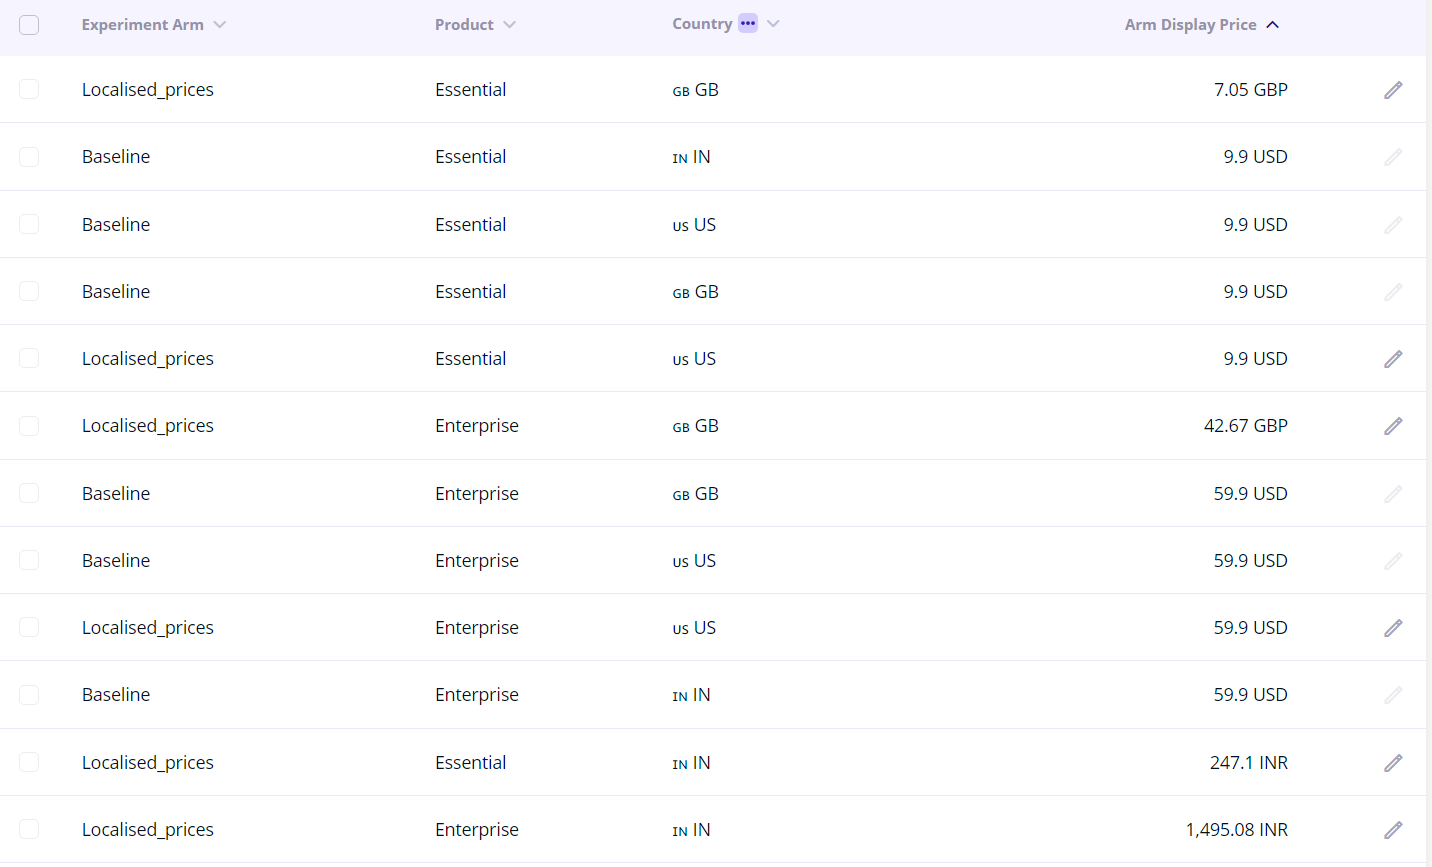
Localized Prices vs. USD Prices: In this experiment, one group of users is shown prices in their local currency, while another group views the prices in USD. This helps in understanding user preference and reception towards localized pricing as compared to standardized USD pricing.
How to setup Price Experiment
1. Select Experiment Products
Upon naming your experiment, the subsequent step is to determine the products that will be part of the experiment. This could encompass various subscriptions or packages, ranging from monthly to annual durations or from basic to advanced offerings. These product definitions are located in the ‘Products’ tab of our dashboard. For a comprehensive guide on product creation and management, refer to Products documentation page.2. Add Arms and set prices for Experimental Arms
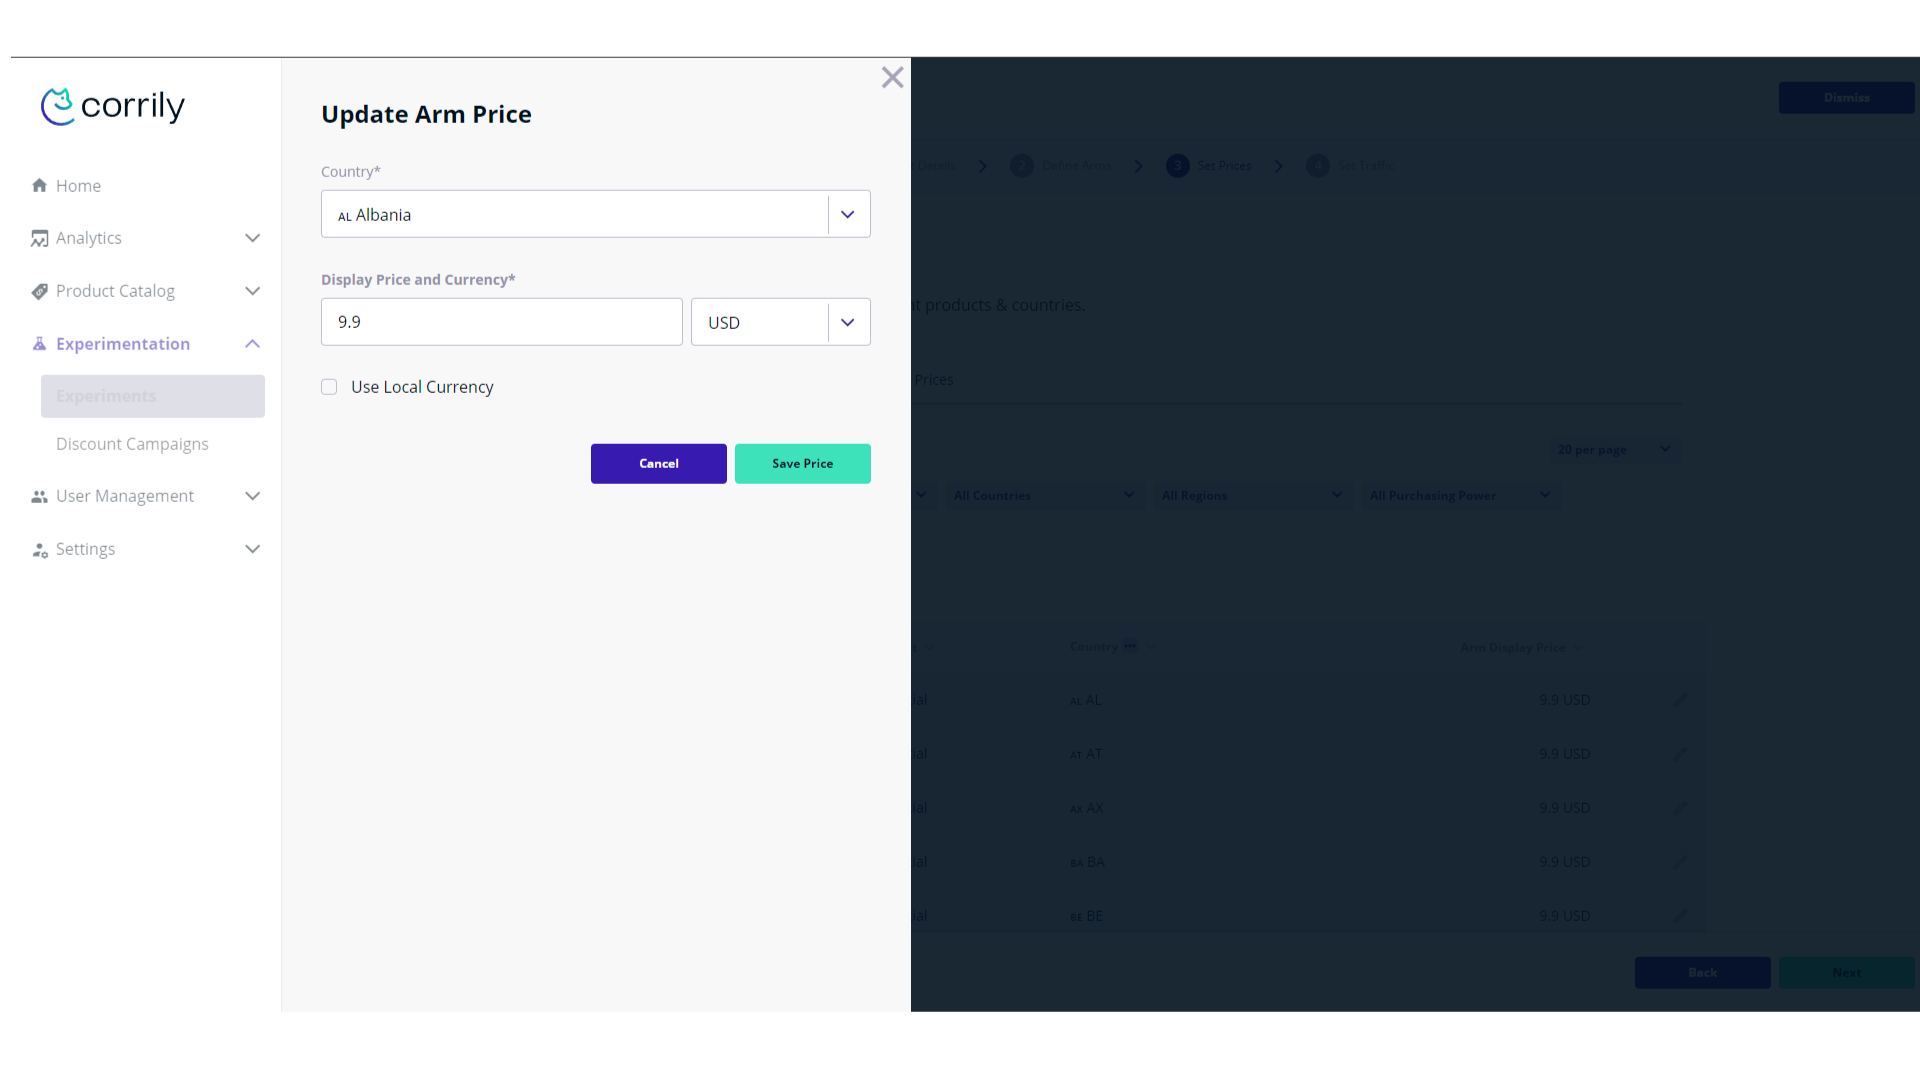
Corrily experiments utilize the concept of arms. Think about it as about “AB tests on steroids”. Experiment will have a couple of arms to test, which should include the single baseline arm to compare with. For any arm except baseline you would need to change prices and/or currencies. This price changes could be done in the Experiment Setup Interface, similar to Price Control Center. Here you can use bulk actions to modify the prices and can change prices for each country / audience individually. In our example, we are starting a new experiment, and after filling the first page of information related to the experiment we reach the Define Arms step. Here we have a Baseline arm and we need to add at least one more to be able to proceed. Note that if you wish to delete the Baseline arm you can do that but you need to set another added arm as the new Baseline.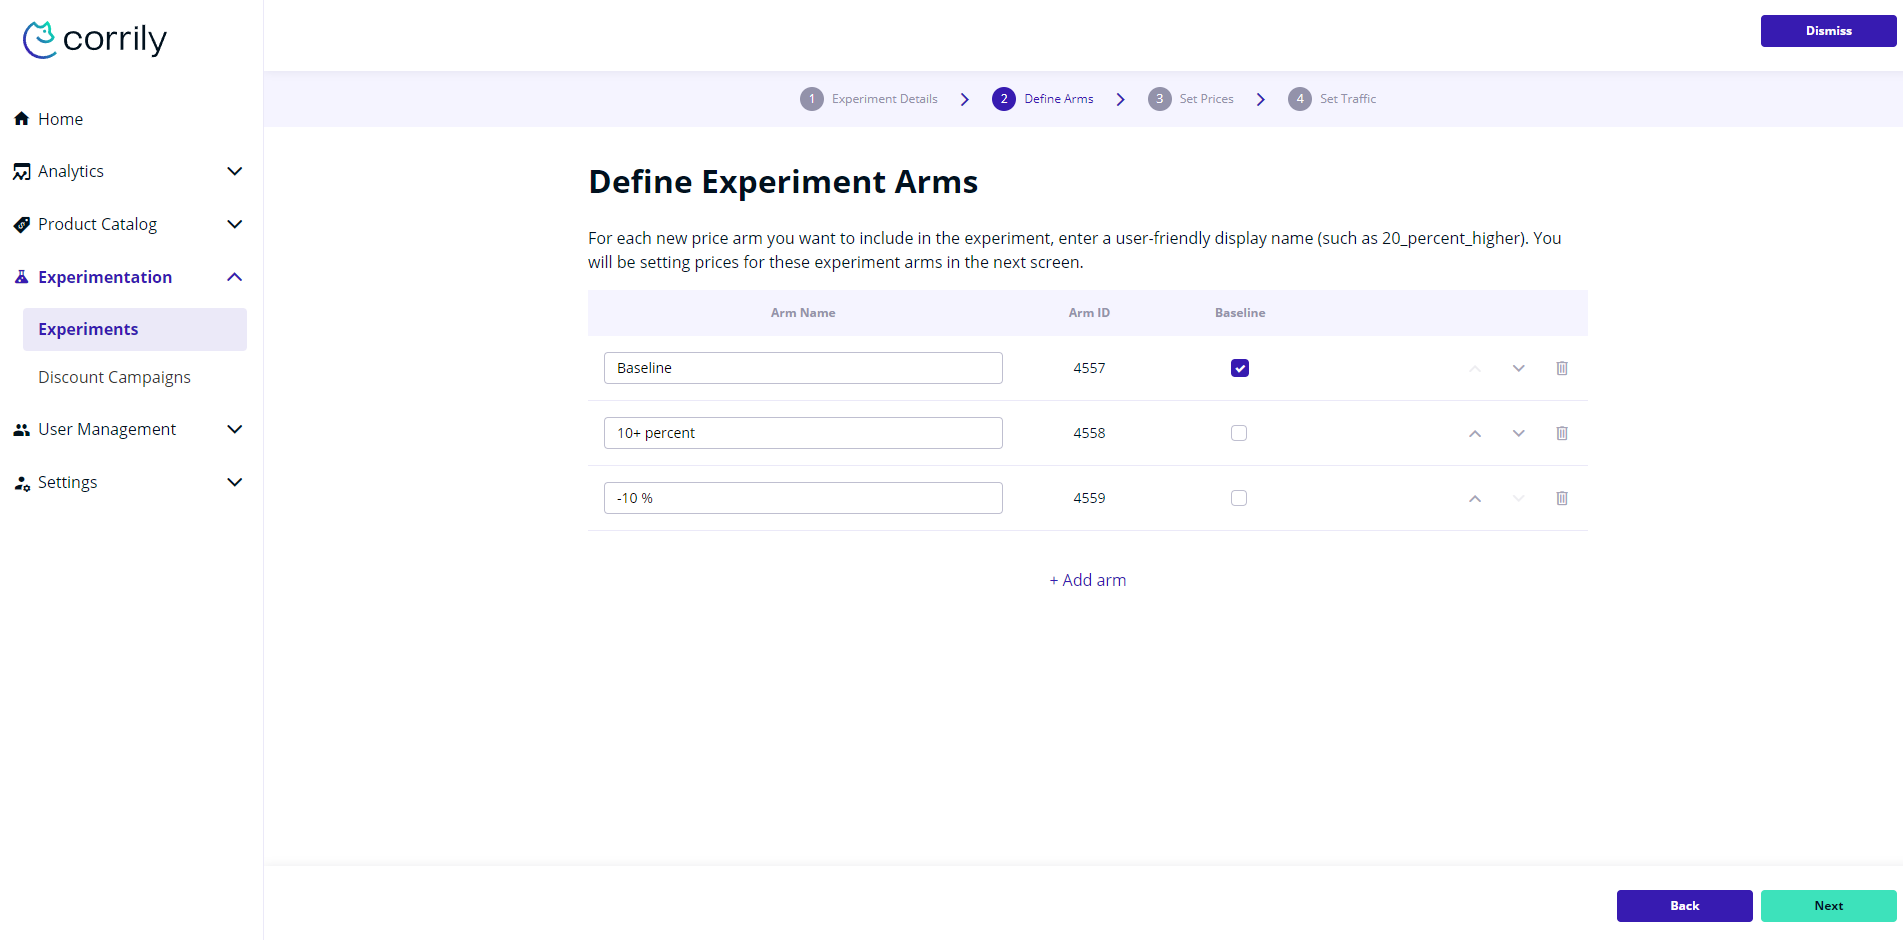
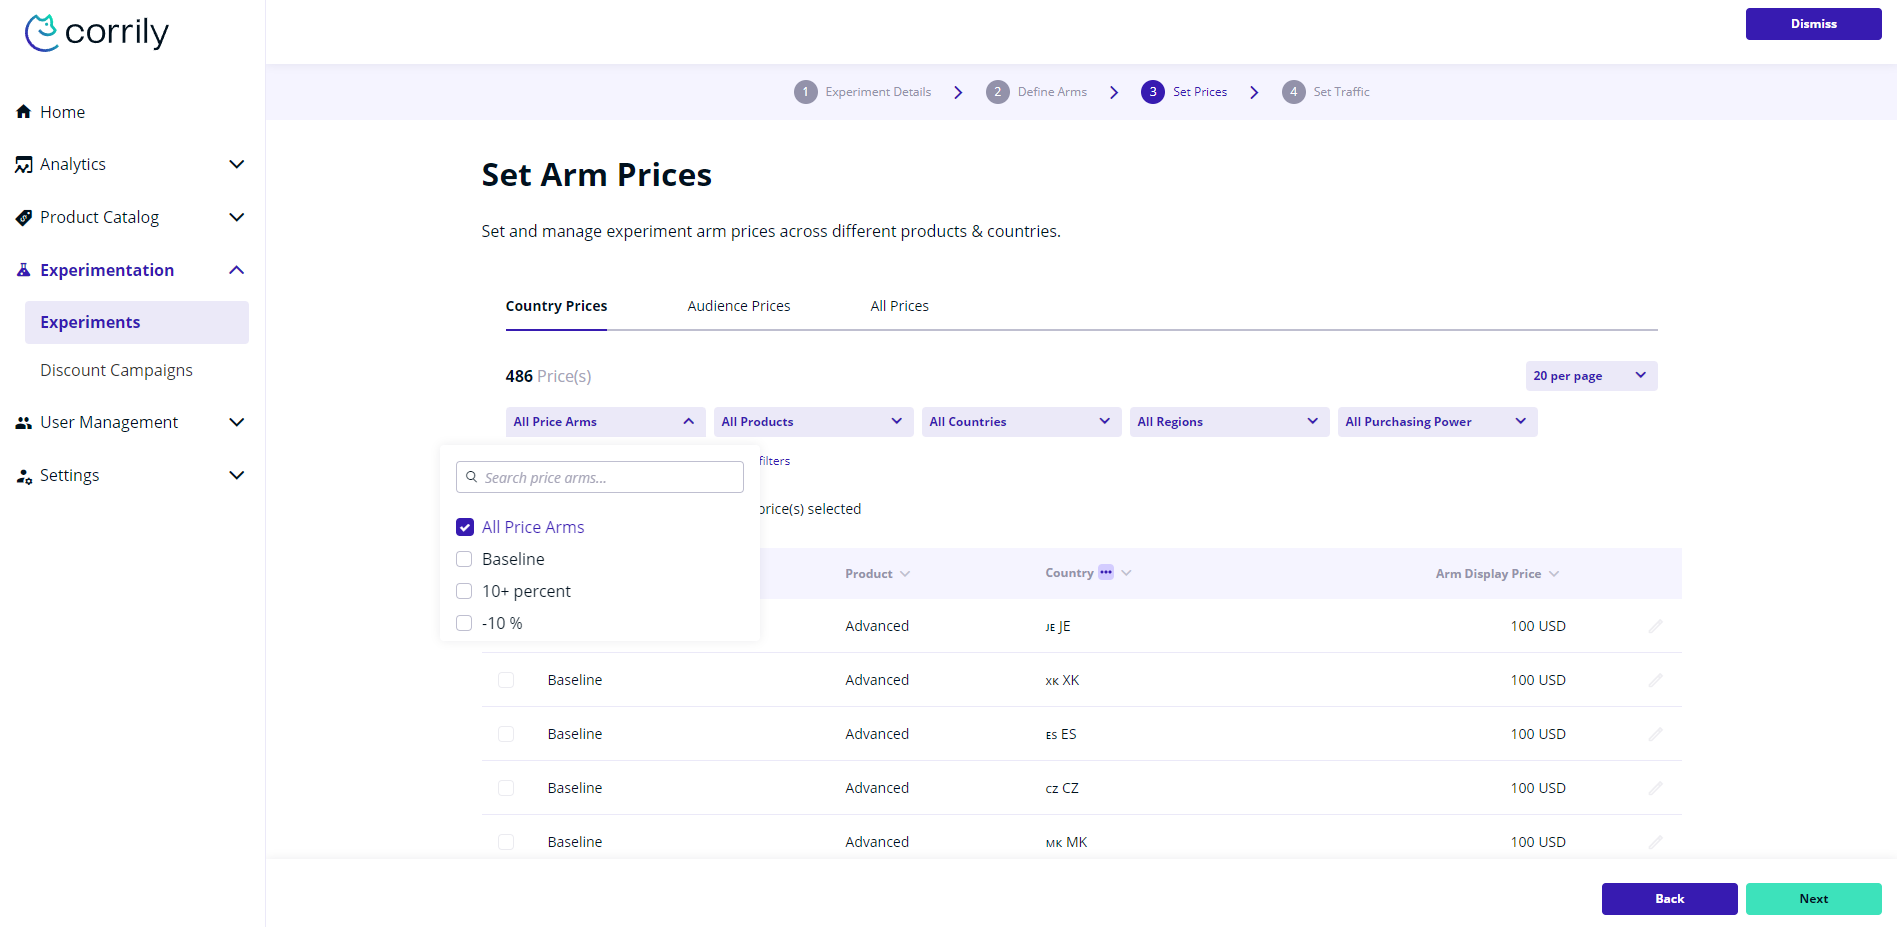
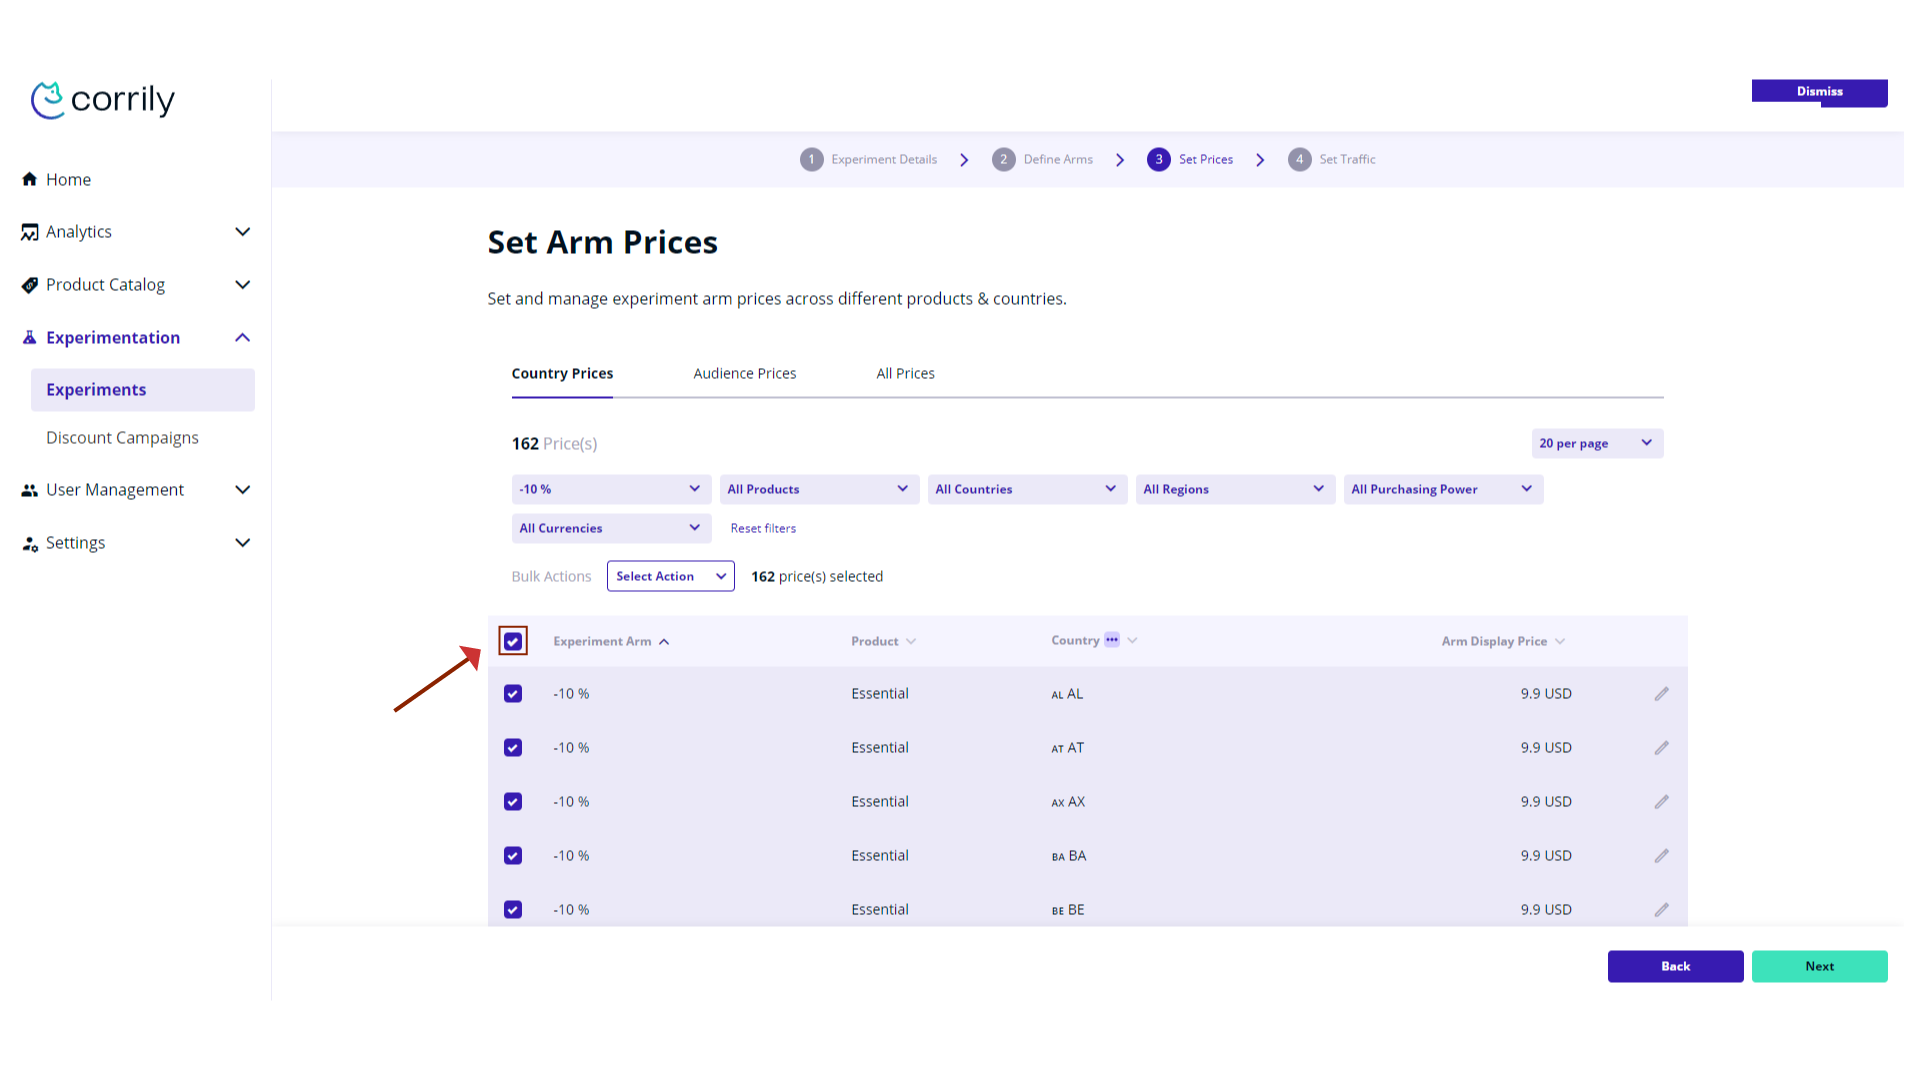
-10% arm to change the prices for. Once selected, we have a checkbox that I can use to select all of the prices at once.
| Bulk action | Description |
|---|---|
| Set Display Price | This action allows to change the displayed price and the currency for the selected prices |
| Switch Currency | This allows to change the currency the user will see for the selected prices |
| Change Display Price to Default Price | This will change the price seen by the user to the Baseline price |
| Generate Parity Prices | This action will generate new prices based on the purchasing power |
| Generate X% Higher Prices | This action will calculate the new price as % higher than the current baseline price and display it |
| Generate X% Lower Prices | This action will calculate the new price as % lower than the current baseline price and display it |
| Convert prices to local currencies | This will convert the price to the user local currency using locked FX rates |
| Convert prices to currency X | This allows the conversion of a price to a desired currency using locked FX rates |